OutdoorCompass.net – Staying hydrated on the trail matters more than the container you use — but the container still affects how easy it is to actually drink enough water. This guide walks through the main types of hydration systems, how to figure out how much capacity you need, and how a few commonly recommended options compare.
Key Decision Factors
- How much water your typical hike requires
- Water availability on the trail — affects how much water you need to carry from the start
- Whether you prefer to stop and drink, or sip while moving
- How easy the system is to refill and clean
- Weight and pack space, especially if you’re already tracking backpack capacity closely
Types of Hydration Systems
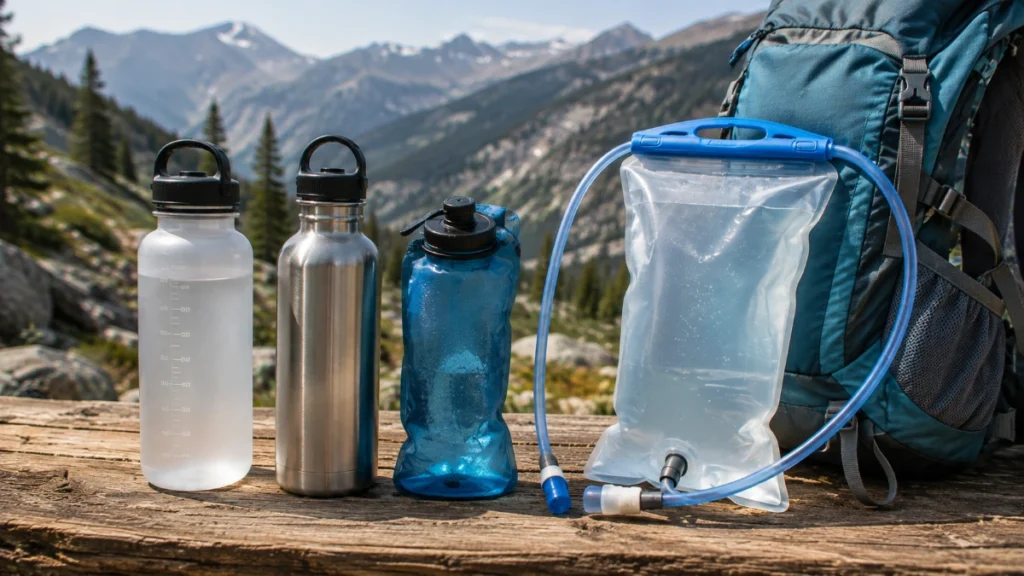
Standard water bottles (plastic or stainless steel) are simple, easy to refill from any water source, and easy to clean. The trade-off is that you need to stop, reach into your pack (or a side pocket), and drink manually — which can make it less convenient to drink regularly while walking.
Hydration bladders or reservoirs are soft, flexible containers that sit inside your backpack, connected to a drinking hose that reaches over your shoulder. This lets you sip while walking, without stopping or removing anything from your pack. The trade-off is that bladders are harder to clean thoroughly and dry between uses compared to a rigid bottle.
Insulated bottles (typically stainless steel with double-wall insulation) are designed to help maintain the temperature of your drink longer than typical uninsulated containers. They’re generally heavier than uninsulated alternatives, which matters more on longer hikes where every gram in your pack adds up.
Collapsible water containers fold down or compress when empty, saving pack space compared to a rigid bottle. They’re particularly useful for carrying extra water capacity on longer hikes without permanently taking up bag space when not in use.
How Much Water Capacity Do You Need?
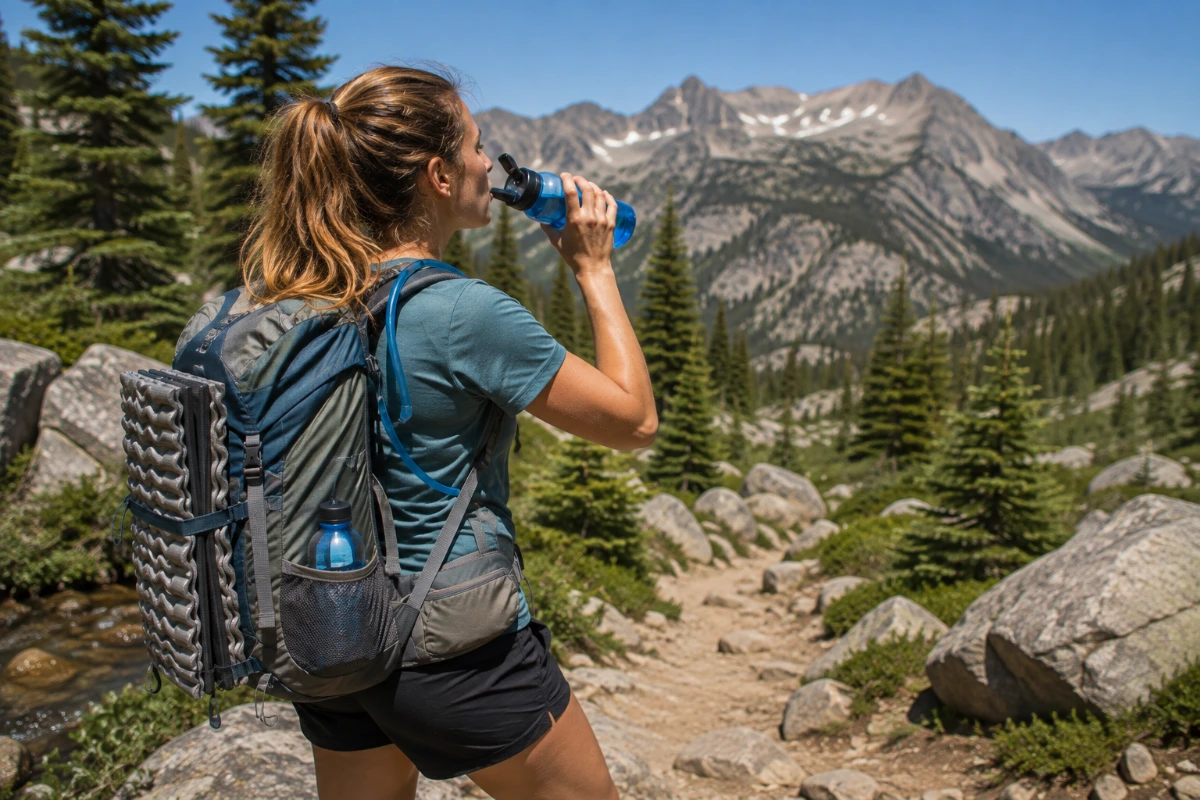
Using the general hydration guideline from earlier in this series — roughly 0.5 liters per hour as a general starting point for moderate hiking — you can estimate the amount of water you may want to carry:
- 2-hour hike: roughly 1L
- 4-hour hike: roughly 2L
- 6+ hour hike or hot weather: 2–3L or more, depending on conditions
This is a starting guideline, not a fixed rule — adjust upward for heat, exertion level, or personal sweat rate. Actual water needs can vary with temperature, humidity, elevation, exertion, trail conditions, and individual sweat rate.
Available water sources can also affect how much capacity you need to carry from the trailhead. A hike with reliable, treated refill points may require less starting capacity than a route with no safe water access.
Bottle vs. Bladder: Which Fits Your Hiking Style
- Choose a standard bottle if you prefer simplicity, want something easy to clean and refill at a stream or tap, or hike shorter, more relaxed trails where stopping to drink isn’t a hassle.
- Choose a bladder/reservoir if you’re on more active or technical terrain where stopping frequently breaks your rhythm, or if you tend to under-drink when it requires a deliberate pause.
- Combining both is common and practical — a bladder for convenient sipping while moving, plus a bottle as backup capacity or for situations where a bladder isn’t convenient to refill.
Material Considerations
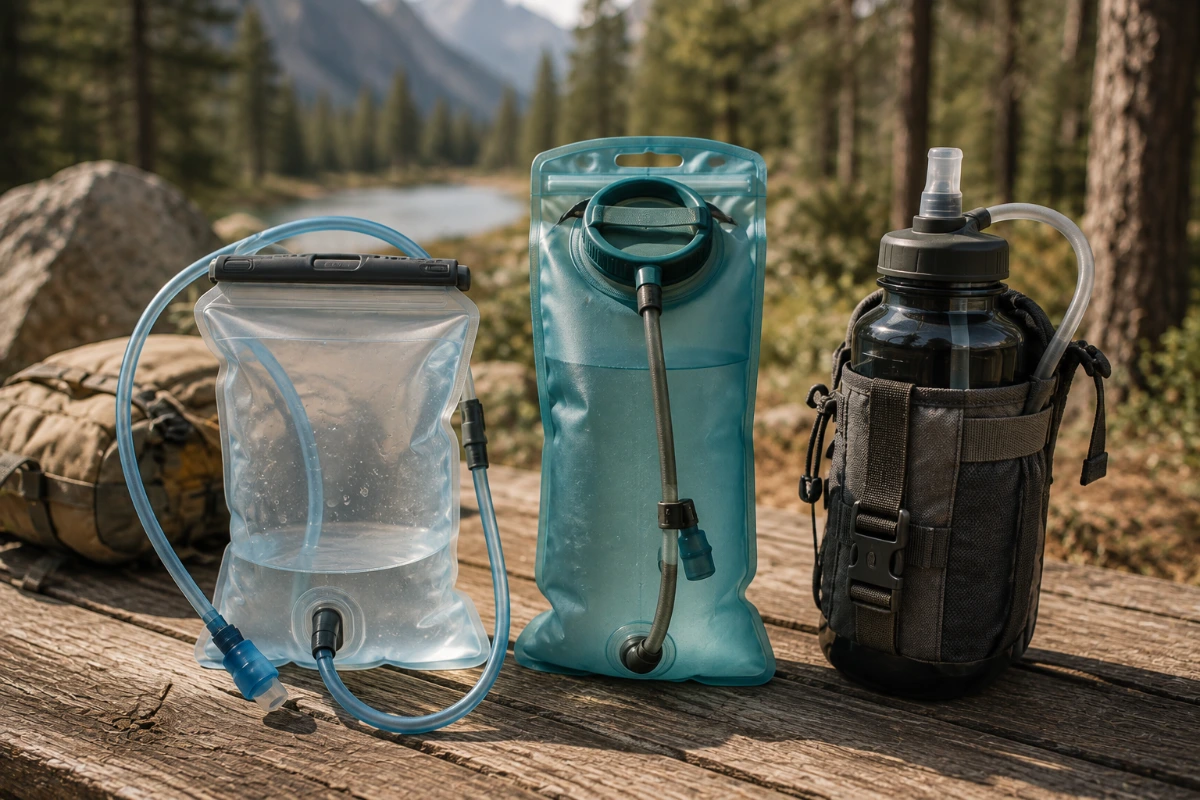
- Plastic bottles are generally lightweight and affordable. If material composition is important to you, check the manufacturer’s current specifications.
- Stainless steel bottles are more durable and often insulated, at the cost of extra weight.
- Hydration reservoirs use flexible materials designed for repeated contact with drinking water, but material composition varies by product. Check the manufacturer’s specifications if material type is important to you.
Maintenance and Hygiene
This is one of the more overlooked aspects of choosing a hydration system, especially for bladders. Reservoirs that aren’t cleaned and fully dried can develop mold or bacterial growth, particularly in areas that retain moisture such as the hose and bite valve.
Practical habits that help:
- Rinse the bladder and hose after every use, not just occasionally.
- Dry the bladder fully before storing it — many reservoirs can be hung open or use a small drying tool.
- Periodically check the hose and bite valve specifically, since these areas are easy to overlook.
Standard bottles are simpler to maintain by comparison — a quick wash after use is usually sufficient.
Comparing Hiking Water Bottles and Hydration Systems
The products below represent different approaches to hydration, from simple bottles to soft reservoirs. Specifications shown here reflect available product information; pricing, ratings, and availability should be verified directly before purchasing.
| Feature | Nalgene Sustain 32 oz Wide Mouth | CamelBak Crux 2L | Platypus Big Zip EVO 2L | HydraPak Seeker 2L |
|---|---|---|---|---|
| Type | Standard bottle | Hydration reservoir | Hydration reservoir | Collapsible water container |
| Capacity | 32 oz (~0.95L) | 2L | 2L (also available in 3L) | 2L |
| Best suited for | Beginner hiking, day hikes, camping | Day hikes, warm weather, hydration-compatible packs | Hiking and backpacking | Backpacking, water storage, outdoor trips |
| Key advantage | Simple, wide-mouth design makes refilling easy | Hose lets you drink hands-free while walking | Fits compatible backpacks, available in multiple sizes | Collapsible design saves pack space when empty |
| Weight, price, rating | Verify before purchasing | Verify before purchasing | Verify before purchasing | Verify before purchasing |
How to read this table for your situation:
- If you want a simple bottle that’s easy to refill and clean, the Nalgene Sustain is a straightforward starting point.
- If you hike actively and don’t want to stop to drink, the CamelBak Crux gives you hands-free access through its hose system.
- If you’re planning longer hikes or backpacking trips and want reservoir flexibility across capacities, the Platypus Big Zip EVO is worth considering, since it’s available in both 2L and 3L.
- If pack space is a priority, the HydraPak Seeker‘s collapsible design can reduce the space it takes up when empty.
Check Current Options on Amazon
If one of these options looks like a good match, check the current price, availability, specifications, and customer reviews before purchasing.
Verify the current price, availability, specifications, and seller information before purchasing.
Frequently Asked Questions
Is a hiking backpack really different from a regular backpack?
Yes. Hiking backpacks typically include features such as a padded, adjustable hip belt for better weight distribution, a frame or frame sheet for structure, and hydration compatibility. These features are less common on general-purpose backpacks.
What’s the ideal capacity for a beginner?
For most beginner day hikes, a 20–30L backpack is a practical range for carrying water, food, an extra layer, and basic safety gear. Shorter or milder hikes may require less capacity, while longer or cold-weather hikes may benefit from the higher end of the range.
Does a more expensive backpack always mean more comfort?
Not necessarily. Fit has a greater effect on comfort than price, particularly when it comes to matching the torso length and getting a properly fitting hip belt. A well-fitting mid-range backpack can be more comfortable than an expensive pack that does not fit your body properly.
What size hiking backpack is best for a beginner?
For most beginner day hikes, a 20–30L backpack is a practical starting point. Shorter hikes may need less capacity, while cold-weather or longer day hikes may benefit from additional space.
How should a hiking backpack fit?
A hiking backpack should sit securely against your back without excessive movement. The hip belt should rest around your hip bones, while the shoulder and sternum straps should feel secure without restricting movement.
Is a frame necessary in a hiking backpack?
Not always. Frameless backpacks can work well for very light loads, while an internal frame can provide more structure and stability as the weight of the pack increases.
Choose Based on How You Actually Hike
The best hydration system is the one that matches your hiking style and how consistently it gets you to actually drink enough water. A simple bottle covers most beginner day hikes well; a reservoir adds convenience for more active hiking; a collapsible container adds flexible extra capacity. All three can work together as your hiking habits develop.
OutdoorCompass
Explore More. Pack Smarter.