OutdoorCompass.net – Tent designs vary quite a bit between brands and models, so this guide covers the general principles that apply to most common dome-style, freestanding tents — the most typical choice for beginner campers. Always check your specific tent’s manual for model-specific details, the steps below cover the general setup process for many common beginner-friendly tents.
Key Steps Overview
- Choose and prepare your spot
- Lay out your groundsheet and tent components
- Assemble the poles
- Attach the tent body to the poles
- Stake down the tent
- Attach the rainfly
- Add guy lines if conditions call for it
Choosing Your Spot Before Setup
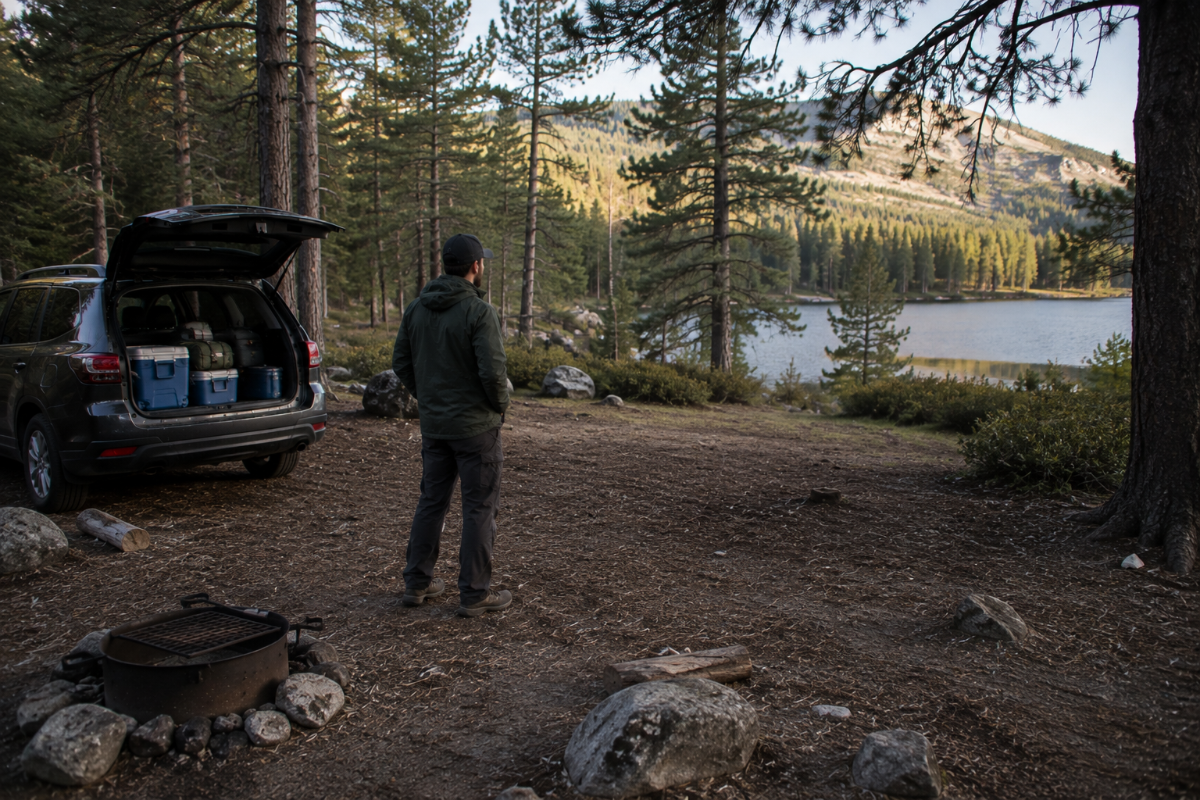
Where you set up matters before you even start — flat ground, away from low points where water could pool, and a reasonable distance from your fire ring. Look overhead for dead or damaged branches if you’re setting up near trees.
Read More → Camping Safety Tips: What Every Beginner Should Know
Step 1: Lay Out and Prepare
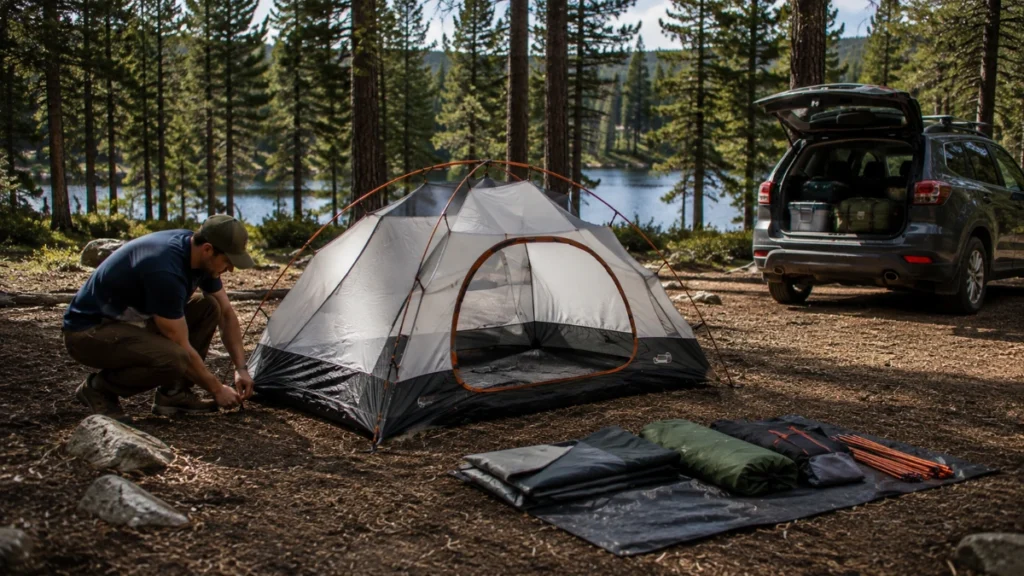
Lay your groundsheet or footprint down first if you have one — this protects the bottom of your tent from wear and moisture. Then lay out all your tent components (poles, tent body, rainfly, stakes) so you can see everything and confirm nothing is missing before you start assembling.
Step 2: Assemble the Poles
Most modern tent poles are shock-corded (connected internally by an elastic cord), so the sections are designed to connect as you unfold them. Forcing a pole segment or letting sections snap together too quickly is a common way poles get damaged. Unfold them gradually, section by section, rather than shaking the whole pole out at once.
Step 3: Attach the Tent Body to the Poles
There are two common systems for this, and it’s worth knowing both since your tent will use one or the other:
- Clip system — the tent body has plastic clips that attach onto the assembled pole structure. This is generally faster and easier for beginners.
- Sleeve system — the poles thread through fabric sleeves sewn into the tent body. This design can require more care during setup, particularly when you’re working alone.
Check which system your tent uses before you start, so you’re not guessing partway through.
Step 4: Stake Down the Tent
For many guy-out points, a stake works best when driven into firm ground at an angle that resists the direction of pull, rather than straight down. Follow your tent manufacturer’s instructions where they specify a different setup.
For a secure stake: drive it into the ground at roughly a 45-degree angle, angled away from the tent, rather than straight down. This angle resists pulling force from the tent’s guy-out points much more effectively than a vertical stake.
Step 5: Attach the Rainfly
The rainfly is a separate waterproof layer that goes over your tent body, providing weather protection and, in most tent designs, an additional airflow gap that reduces condensation buildup inside the tent. Attach it according to your tent’s specific clip or buckle system, and make sure it’s pulled taut rather than sagging — a properly tensioned rainfly should remain separated from the inner tent where the design allows, helping maintain the intended weather protection and ventilation.
Step 6: Guy Lines (Recommended in Wind)
Guy lines are additional cords that stake out from specific points on your rainfly or tent body, adding stability beyond the basic stakes. They’re not always strictly necessary in calm conditions, but they’re worth using whenever wind is a realistic possibility — they can improve a tent’s stability in windy or gusty conditions and are a quick addition once the rest of your tent is set up.
Common Setup Mistakes
- Skipping stakes because the weather looks calm — conditions can shift, and an unstaked tent is more vulnerable than it seems until wind actually picks up.
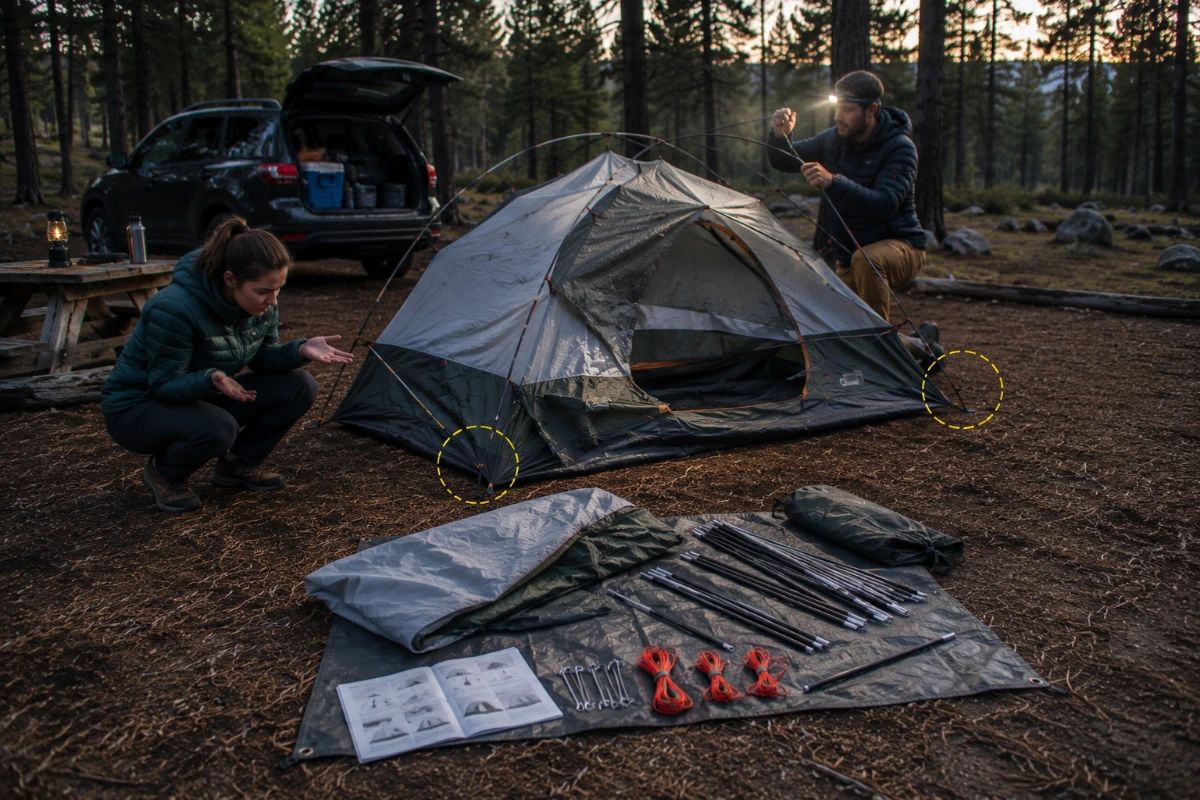
- Setting up in a rush after dark — trying to figure out an unfamiliar tent for the first time with a headlamp, after the sun has already set, is a common and avoidable source of frustration. This echoes the same “set up camp before dark” principle covered in the backpacking safety guide, and it applies just as much to car camping.
- Not checking for a complete parts list before starting — realizing a stake or pole segment is missing partway through setup is far more frustrating than catching it during the initial layout step.
Practice Before Your Trip
If you’re using a new tent, or setting one up for the first time in a while, it’s genuinely worth doing a practice setup at home — in a yard, a park, or even indoors — before your actual trip. This mirrors the “test your gear before you need it” principle that applies throughout outdoor preparation: catching a confusing step or a missing part at home is far less stressful than discovering it at the campsite, especially if daylight or weather is already a factor.
Frequently Asked Questions
How long should it take to set up a tent for the first time?
This varies by tent size and design, but budgeting extra time — well beyond what you’d expect once you’re experienced — is reasonable for a first attempt. A practice setup at home beforehand significantly speeds up your actual on-site setup.
Do I need the rainfly if the weather looks clear?
It depends on your tent design and how confident the forecast is. Many campers leave the rainfly off in genuinely clear, stable conditions for better ventilation and stargazing, but weather can shift faster than expected — having it readily accessible to add quickly is a reasonable middle ground if you’re unsure.
How do I know if my tent is set up correctly?
A properly set up tent should have its poles fully connected, fabric reasonably taut, stakes secure, and rainfly correctly positioned according to the manufacturer’s instructions.
Should I set up my tent before dark?
Yes. Setting up before dark gives you better visibility and makes it easier to identify the right campsite position, assemble the poles correctly, and spot missing or damaged components. If you’re using a new tent, practicing at home beforehand can make the process much easier.
Setup Gets Easier With Practice
The first time you set up a new tent will often be slower and more confusing than later attempts — that’s normal, not a sign you’re doing something wrong. A practice run at home and a bit of patience on the first real setup will make every trip after that noticeably smoother.
OutdoorCompass
Explore More. Pack Smarter.